Why Our Senior Engineers Are Not Expensive CAD Operators
At most engineering firms, senior engineers spend a significant portion of their week on drawing cleanup, redline markups, and CAD production tasks that a drafter should be handling. We built MES around a different structure from day one.
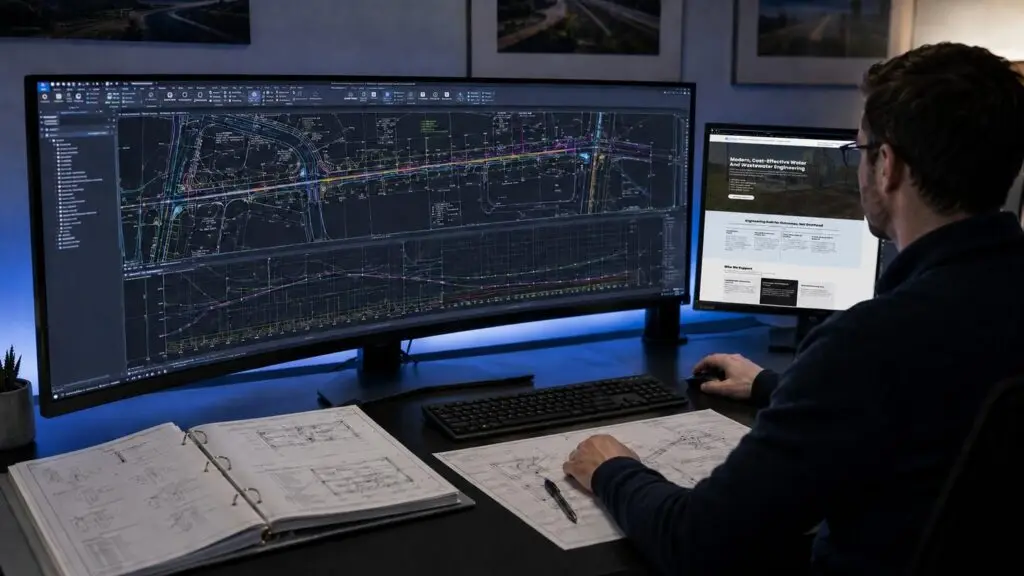
Guide to Design a Wastewater Treatment Plant in AutoCAD
Introduction Designing a wastewater treatment plant layout requires both engineering insight and careful CAD drafting. This guide provides a step-by-step approach to creating an AutoCAD wastewater treatment plant design that is accurate, organized, and optimized for collaboration. Tailored as a civil engineering AutoCAD guide for city officials, district managers, professional engineers, municipal planners, and AutoCAD […]